What Is a Pickup Shot in AI Filmmaking?
A pickup shot in AI filmmaking is a single, individually generated video clip used to fill a gap, add a missing moment, or reinforce a scene after the main footage has already been created. Rather than regenerating an entire scene, the pickup shot feature gives you a precise way to drop one targeted clip exactly where your edit needs it — saving time and keeping your AI filmmaking workflow moving forward.
Core Uses for a Pickup Shot in AI Filmmaking
A pickup shot is used to generate a few extra, individual video clips when a project is nearly finished but requires additional material to complete a scene. This function is not for creating entire scenes from scratch. It is a precision tool for post-generation refinement.
AI filmmaker Austin Zartman, creator of the AI short-film series ASHES, explains that this feature is ideal for "situations like this when you just want like a few more shots." A pickup shot serves as a supplementary tool for targeted fixes.
Filmmakers use pickup shots for several specific purposes:
- Adding Reaction Shots: If a dialogue scene feels flat, you can generate a quick shot of a character reacting to a line of dialogue. This adds emotional depth and improves the scene's rhythm.
- Inserting Cutaways: You might need a shot of an object a character is looking at or holding. Using the pickup shot feature is an efficient way to generate this insert without re-rendering the entire sequence.
- Filling Narrative Gaps: Sometimes in editing, you discover a small but crucial piece of visual information is missing. A single pickup shot can bridge this gap and make the story clearer.
- Correcting Pacing: A scene might feel rushed. Adding a brief, well-placed pickup shot can give the audience a moment to breathe and absorb what is happening, improving the overall pacing.
The core value of this method is efficiency. It allows you to address small needs without regenerating an entire complex scene, saving time, credits, and creative energy. For more on managing credits wisely, see how to save credits in AI video.
This approach is particularly useful in the final stages of editing when you identify small gaps in the narrative that a single clip can resolve. The function is designed for precision — targeting specific moments that need reinforcement without disrupting the flow of existing work.
Where to Find the Pickup Shots Feature
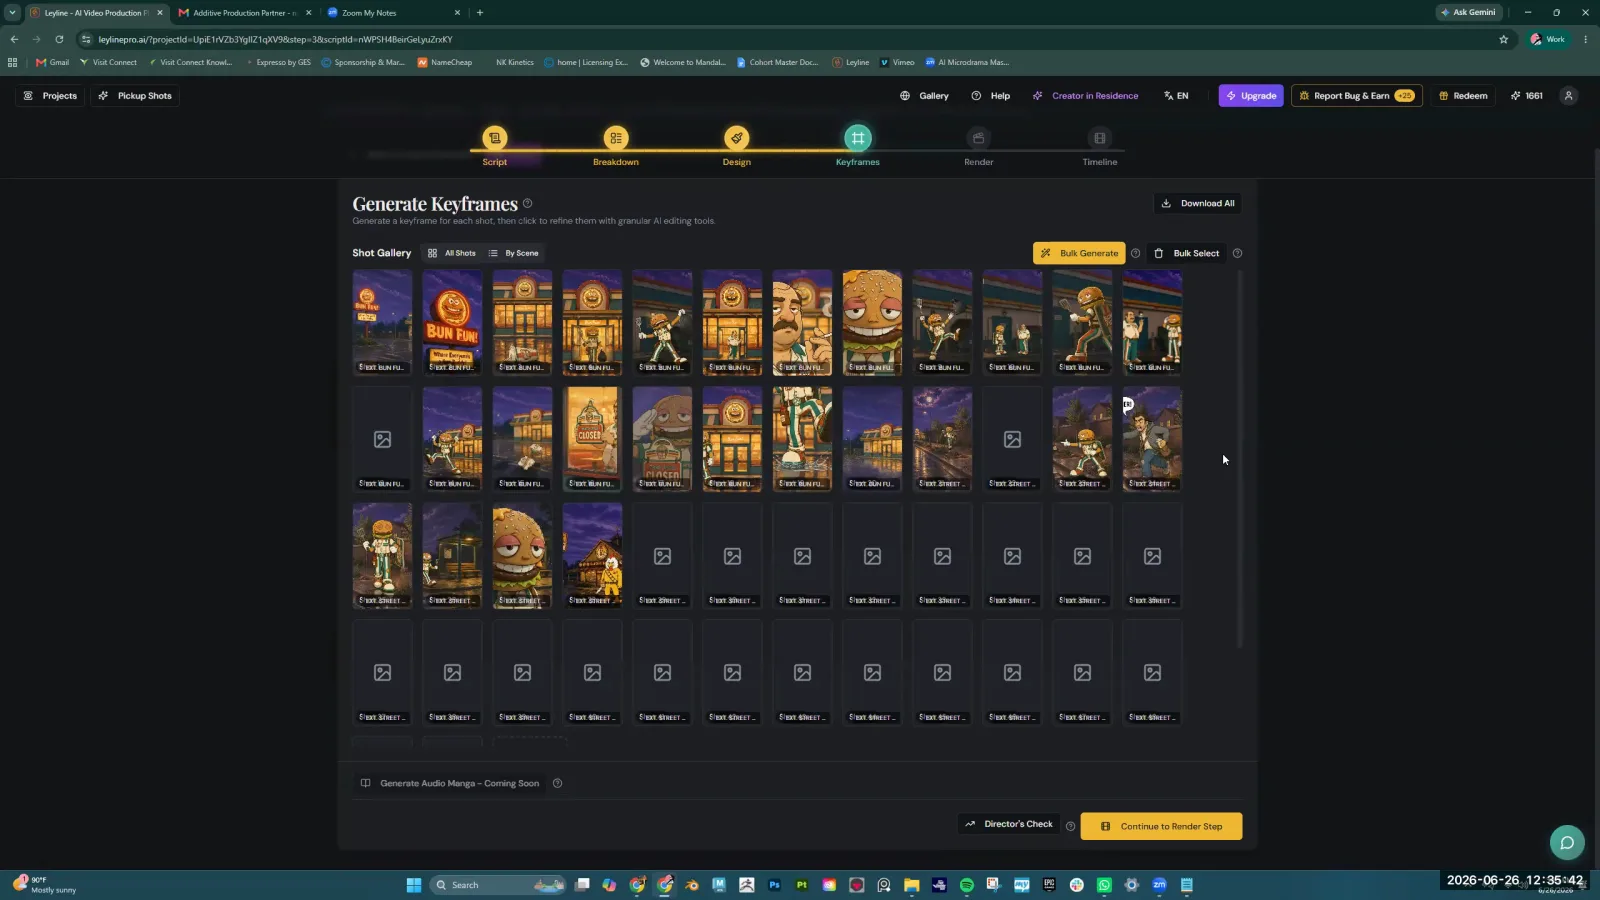
The pickup shots feature is located in the top left-hand corner of the user interface, directly next to the "Projects" tab. Its placement is intentional, making it a primary, easily accessible function for any ongoing project. During a masterclass on AI filmmaking, Austin Zartman pointed out its specific location to a user, stating, "Top left hand corner, next to projects, there's a pickup shots... The one right next to it."
This prominent position in the UI underscores its importance in the AI filmmaking workflow. It is not a hidden or advanced setting, but a go-to solution for adding specific, targeted shots. Users can quickly navigate from their main project timeline to this feature, generate a needed clip, and return to their edit immediately.
This ease of access encourages an iterative process. A filmmaker can generate a base scene, review it, and create supplementary clips without digging through complex menus. The workflow is designed to be fluid, and the UI reflects this by placing essential tools within immediate reach.
How to Generate a Pickup Shot
The process to generate a pickup shot is straightforward and focuses on maintaining consistency, a core principle of effective pickup shot AI filmmaking. You use a reference image to guide the AI, ensuring the new clip matches your existing project's visual style. Austin Zartman outlines the steps: "Click video... and find a model that will allow you to put in references and start generating individual shots."
Here is a step-by-step breakdown of the process:
- Navigate to the Feature: Select the "pickup shots" tab from the main interface, located next to "Projects."
- Choose the Video Option: Once inside the feature, click the "video" option to begin the generation setup.
- Select a Compatible Model: Find a model that accepts reference images. Zartman suggests choosing a "realistic" model if that fits your project's aesthetic. The ability to use a reference is the most critical part of this step.
- Upload Your Reference Image: Provide a still frame from your existing footage. This image acts as a strong visual anchor for the AI. It dictates the character's appearance, the lighting, the color palette, and the overall composition.
- Set Generation Parameters: Define settings like the aspect ratio. For vertical content, Zartman mentions using "9 over 16." You should choose the ratio that matches your project's format.
- Write Your Prompt (Optional but Recommended): While the reference image provides the visual guide, a simple text prompt can help direct the action within the clip.
- Start the Generation: Initiate the process to generate your pickup shot. The AI will create a short clip based on your reference image and other settings.
The use of a reference image is central to successful pickup shot AI filmmaking. It is the key to overcoming the common challenge of maintaining character consistency in AI video across different AI generations. By providing a clear visual target, the filmmaker exerts more control over the output and ensures a pickup integrates cleanly into the larger film.
Using Pickup Shots to Create Keyframes
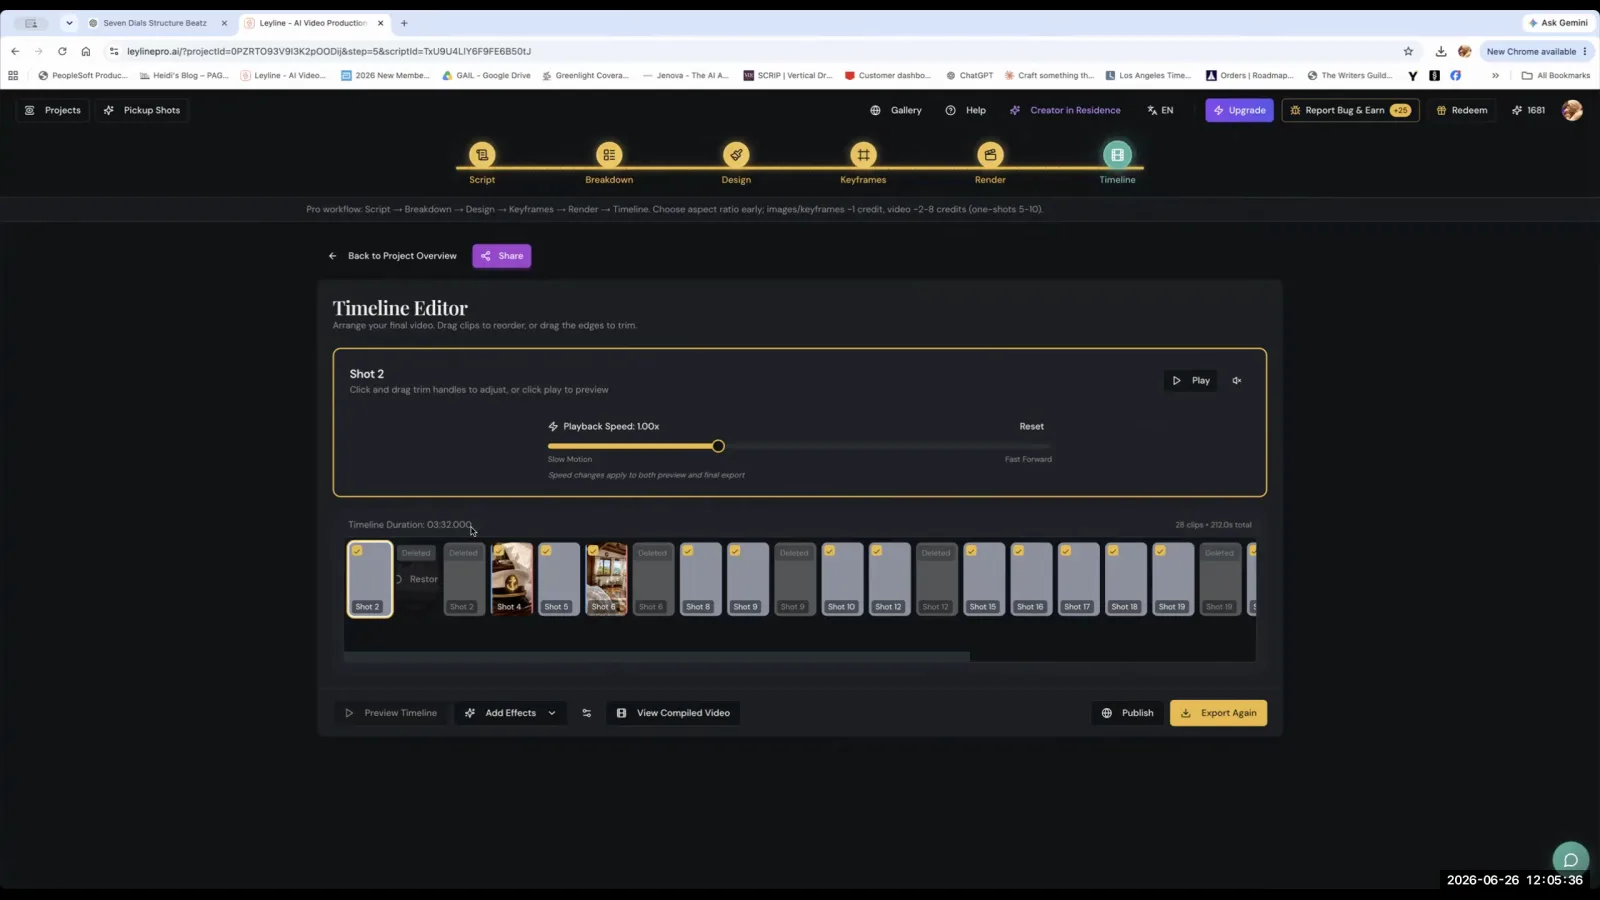
Yes, the pickup shots feature can be used strategically to generate specific keyframes as individual video clips, which you can then assemble in an external timeline editor. This advanced technique within pickup shot AI filmmaking offers a high degree of creative control over the final sequence, effectively letting you build a scene shot by shot.
Austin Zartman describes this alternative workflow: "you generate those key frames... then you go to the pickup shots and generate those individual shots and assemble it in your timeline editor that you have." This method is for filmmakers who prefer a more deliberate, hands-on approach rather than relying on the AI to generate a longer, continuous take.
This keyframing strategy in pickup shot AI filmmaking provides several advantages:
- Total Control Over Timing: By generating each key moment as a separate pickup shot—a character's glance, a hand gesture, or a change in expression—you can edit them together with precise timing.
- Deliberate Pacing: You are not locked into the pacing dictated by a single AI generation. You can extend a moment for dramatic effect or quicken the cuts to build tension.
- Shot-by-Shot Construction: This technique effectively allows you to storyboard your scene with AI-generated clips. It moves the process away from pure generation and towards a more traditional, deliberate editing style powered by AI tools.
This method transforms the AI from a scene director into a highly responsive clip creator. The final pacing, structure, and emotional impact of the scene are placed entirely in the hands of the human editor.
It is a powerful way to leverage pickup shots well beyond minor fixes, using them as the fundamental building blocks of a complete sequence. If you want to go deeper on this shot-by-shot approach, how to render every shot in AI video covers the full process from prompt to final clip.
Frequently asked questions
What is a pickup shot in AI video?
In pickup shot AI filmmaking, a pickup shot is a single, individually generated video clip. AI filmmaker Austin Zartman explains it's used to add a few extra shots to a project that is already mostly complete, helping to fill gaps or add specific details without regenerating an entire scene.
Do I need a reference image for a pickup shot?
Yes, the primary workflow for pickup shots involves using a reference image to guide the generation. This is a key step that helps maintain visual consistency with the character, style, and lighting of your main project when you need to generate these supplementary clips.
What aspect ratio should I use for pickup shots?
You can choose the aspect ratio that fits your project. Austin Zartman suggests using a 9:16 ratio for vertical video formats, but you should select the one that matches your film's intended output and composition. The tool is flexible.
Can I build a whole scene with pickup shots?
Yes, you can use the pickup shots feature to generate individual keyframes and then assemble them in a separate video editor. This method gives you more granular control over the final sequence's timing and pacing compared to generating an entire scene at once.
When is the best time to use a pickup shot?
The best time to use a pickup is during the editing phase after you have generated your main scenes. It is designed for when you identify a missing moment or need a specific shot to improve the narrative flow of an almost-finished project.
Keep learning
This guide is part of the Troubleshooting AI Video Generation masterclass lesson.
Related guides:
Comments
Sign in with your Leyline account to join the conversation.